| Print this page - use Landscape |
Search the WeetHet Pages |
|||||
| WeetHet is being updated! - Current articles will slowly move to www.tweaking4all.com For excellent webhosting that is reliable and affordable, we highly recommend: LiquidWeb |
||||||
|
On this page ...
Installing DVDx You can download DVDx 1.8 right here. Unpack the archive using WinRar or WinZip. After unpacking, you will find the file "DVDx20_setup.exe", double click it so the setup starts. During the setup, click "Yes", "Next", "Next", "Next", "Install" and finally "Finish". DVDx has now been installed into the directory "C:\Program Files\DVDx". Step 1: Play the DVD using a software DVD-player
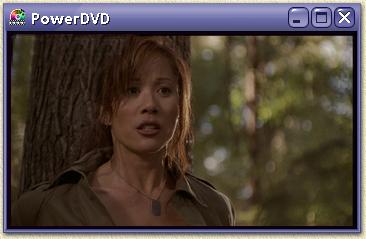
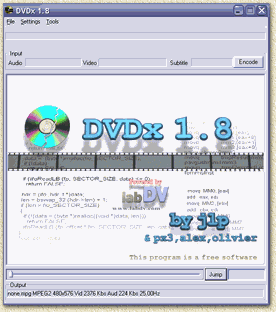
In order to "unlock" the DVD encryption, we first play abit of the movie (ie. not the extras, not the menu, etc ... no: a real part of the movie)! Once you have done that, you must close PowerDVD. Step 2: Start DVDx Double click the DVDx icon in the Windows Start menu.
Step 3: Open the DVD Now there are two way to proceed:
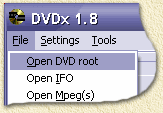
From the "File" menu, choose the option
"Open DVD root" if you're going to have DVDx to
do all the work.
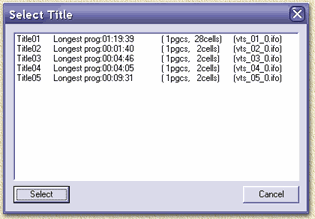
A dialig appears where we can select the desired video-track.
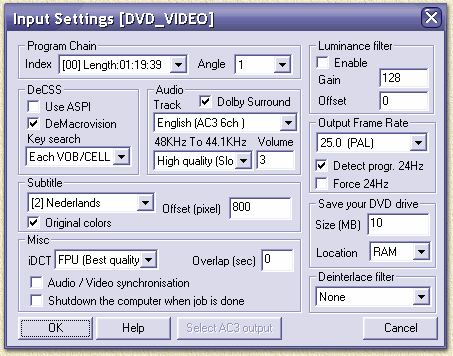
Usually, the longest videotrack is the main movie. Select it and click the "Select" button. Step 4: Video Input Settings After selecting a video-track, we must now do some settings on the Video Input options. Below you see a screenshot of me working with a Regio 2 PAL movie, using the subtitles:
For detailed info on these options, see the DVDx settings into detail - Video Input Settings. Note: When converting to a DivX format, it's advisable to enable "Audio/Video synchronisation"! In short: Choose the right language for audio (Audio-Track), indicate if you would like to use the subtitles (SubTitle) and set the proper frame-rate (PAL:25fps, NTSC:29.97). Once you're done doing the settings, click "OK" to continue. Step 5: Video Output Settings You're now back to the basic screen of DVDx. Here we see the original movie resolution and the playback time of the movie. Both playback time and resolution will become in handy later on! Tip: On the page "DivX rip intro" you will find more details on commonly used display formats when working with DivX.
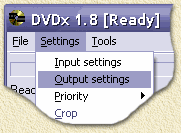
Now choose from the "Settings" menu, the option "Output settings":
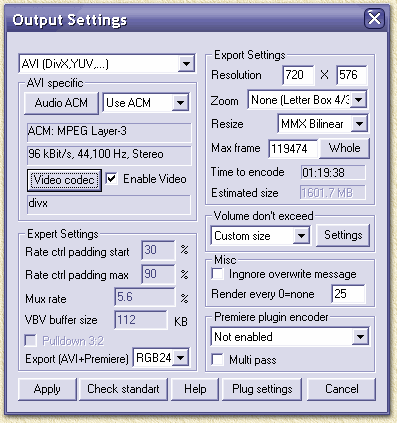
The video output settings window will popup:
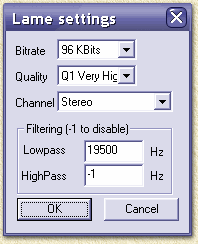
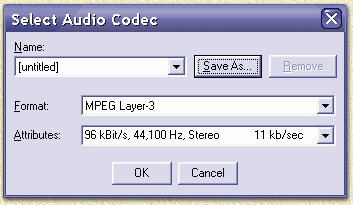
And again: a lot of possible settings. For in depth details, please visit the DVDx Settings into detail - Video Output Settings. In short: copy the settings above and click the "Whole" button so all frames of the movie are included. As for the resolution: I usually choose the original resolution of the movie. Optionally you can remove the black bars above and below the movie by setting "Zoom" to "Custom". At "Export (AVI+Premiere)" you can optionally choose "YUY2" which is supposed to create a excellent quality with DivX. Audio details:
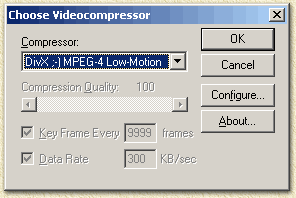
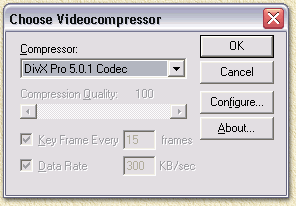
Video Details Now click the "Video Codec" button, and select your video codec.
HierThere are a lot of possible settings here. I always try the LOW-MOTION codec first which is only available with the original ;-) DivX codec. The new DivX.com codec does not have this option. The "Configure..." button unleashes the additional compression settings window. Leave "Keyframe every 10 seconds" the
way it is. Don't change "Smoothness" either (usually
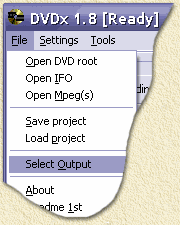
set to 100 - crispness). Select "OK" to return to the codec mainwindow. Select "OK" once more so you return to the "Output Settings" window. Click "Apply" to continue. Step 6: Start the conversion From the "File" menu, select the option "Select Output". Here you can enter the name of your DivX file.
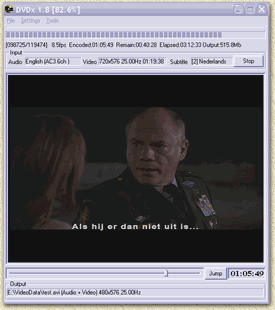
When clicking on the "Browse" you can choose the location and filename of the DivX. You don't need to add the .AVI or .DIVX extension. Click "OK" when done. You're back again to the DVDx main window. In the upper right corner you will see a button called "Encode". This will start conversion - click it now. Step 7: Wait ... All we now have to do is wait,.... below you'll see some snapshots of this example conversion. In this example, it took my PC 3 hours and 50 minutes to convert an 80 minutes movie. I use and AMD Athlon 1300 Mhz based computer and the DivX 5.0 and Radium MP3 codec.
Tip: In case the Windows Media player is not happy with the result (ie. it plays only sound or does not play at all) then consider using a DivX player like "The Playa". You can burn the result on a regular computer CDRom using Nero. |
||||||


