| Print this page - use Landscape |
Search the WeetHet Pages |
|||
| WeetHet is being updated! - Current articles will slowly move to www.tweaking4all.com For excellent webhosting that is reliable and affordable, we highly recommend: LiquidWeb |
||||
|
On this page ....
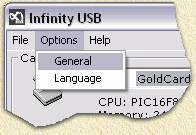
Configuration Since the InfinityUSB is a USB device, after connecting the programmer Windows will ask for the USB driver for this programmer. To avoid all kinds of searching, FIRST download the latest version of the InfinityUSB software (either from the download page or from the InifnityUSB website). Install it. By default it's installed in "C:\Program Files\Infinity USB". The USB driver resides in "C:\Program Files\Infinity USB\driver". Now connect the programmer to your USB port (works with USB 1.1 and 2.0). When Windows asks for the driver, go to "C:\Program Files\Infinity USB\driver". Next time Windows will know where to look for it. The next step, after starting the application, is to configure the application to your preferences - go to the menu "OPTIONS" - "GENERAL";
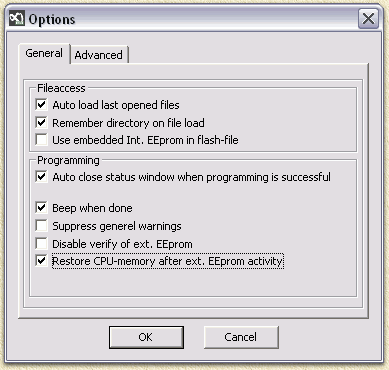
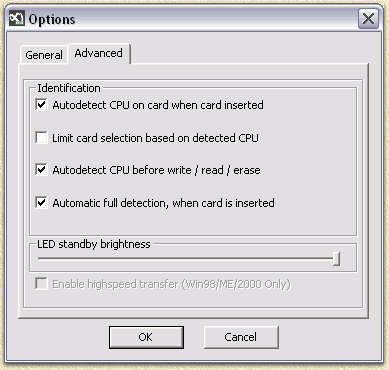
In the upcoming window make your settings. This is how I have done mine:
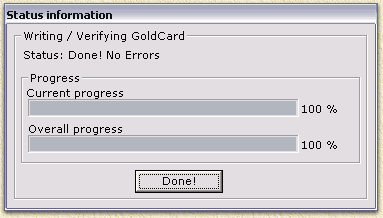
Tip: the option "Auto close status window ..." (first screenshot) closes the status window after completing programming. If unchecked, the window remains open, showing the final status, for example:
Once you finished these setting, click "OK". Note: The default settings are just fine too for most applications.
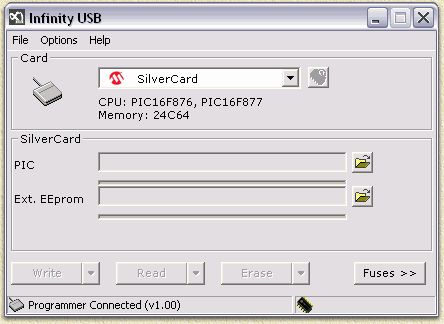
Programming a SmartCard InfinityUSB is not only the FASTEST programmer, but also the most easy one to use. It can even detect card types for you. No need to switch modi, etc. A really COOL programmer if you ask me (and not even expensive either). When the application has been started, you will a screen similar to this one:
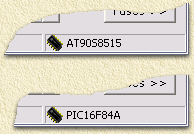
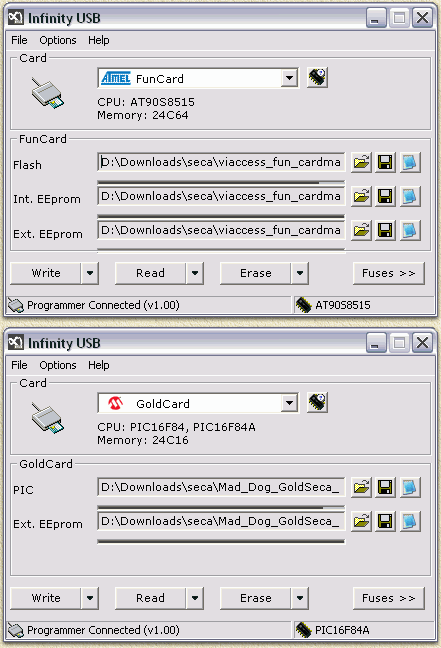
So, now insert the SmartCard into the programmer. InfinityUSB has an autodetect machanism which shows in the lower right corner what type of card has been inserted. Two examples of detected cards (the first one is a FunCard, the second one a GoldCard):
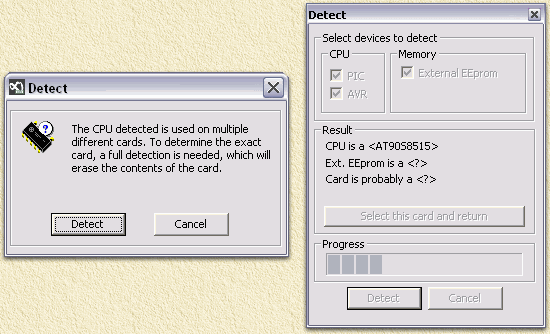
As of verion 1.20, the detection of FunCards has been enhanced. When inserting a FunCard, InfinityUSB will prompt you with additional info;
The first popup will ask you, if InifnityUSB should continue investigating details on this FunCard. Click "Detect". The second popup shows the detecting progress, where InfinityUSB determines exactly what FunCard type this is. So based on the auto-detect, we can now start programming. First we must select the proper files for PIC and EEPROM (some FunCards need one external and one internal EEPROM, some only the external EEPROM).
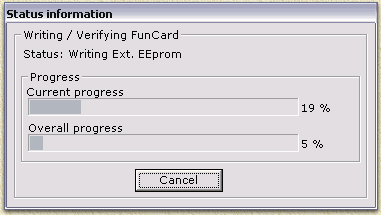
Depending on the cardtype, InfinityUSB will show the upper screen (FunCard) or the lower screen (GoldCard). Here we now specify the PIC (called FLASH when working with a FunCard) file. Click the "Open File" icon and select the PIC file. The second file to specify is the EEPROM file. Note: not all FunCard files use an internal EEPROM! If that is the case: don't select one either. Well, now it's time to program the card. Note: Optionally you can "Erase" the card first. Click the "Erase" button and select PIC or EEPROM. Once selected the card will be cleared. This takes app. 1 to 2 seconds. Click "Write" to write the card. During programm a window will inform you about the progress;
Depending on your settings, either the status window disappears after completion, or remains.
Just to get an idea on speed: The GoldCard will program within 11 seconds. A FunCard takes a bit more time: app. 50 seconds. |
||||

