|

| Print this page - use Landscape |
Search the WeetHet Pages |
|||||||
| WeetHet is being updated! - Current articles will slowly move to www.tweaking4all.com For excellent webhosting that is reliable and affordable, we highly recommend: LiquidWeb |
||||||||
|
On this page ...
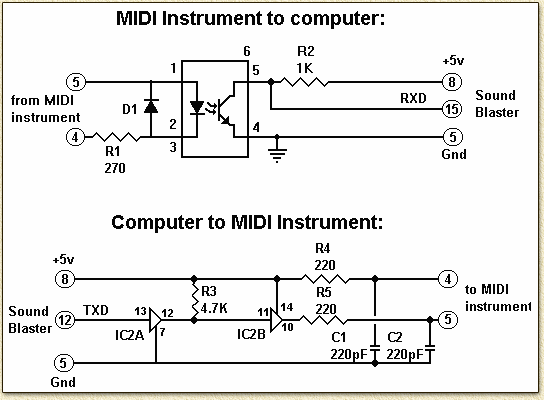
Scematics and parts The chip in the upper part, called "MIDI Instrument to computer", is an optocoupler, this can be either a 4N35 or 4N36. IC2A and IC2B combine to one single chip IC2, which must be a 7404. D1 a common diode for example a 1N4108 (not required). R1 is a resistor of 270 Ohm. C1 and C2 area ceramic capcitor of 220
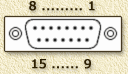
pF. For the connector (plug) to the MIDI devices we need a so called DIN-5 connector, a rond plug with 5 connections. For the joystick we need a 15-pin SubD:
Note: both parts (to and from the MIDI device) are seperate scematics and can be used seperately, so if you only want to "read" key pressures of a keyboard into your computer, then you only nee the "MIDI Instrument to computer" part. |
||||||||