| Print this page - use Landscape |
Search the WeetHet Pages |
|||
| WeetHet is being updated! - Current articles will slowly move to www.tweaking4all.com For excellent webhosting that is reliable and affordable, we highly recommend: LiquidWeb |
||||
|
On this page ...
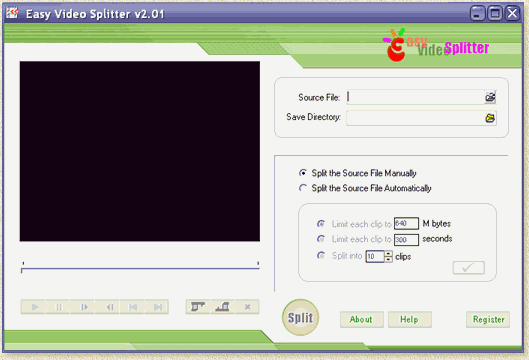
Before we start ... what do we need? Well, naturally at least a movie file, ie. an MPEG-1, MPEG-2, AVI (including DivX and XviD files!), WMV, or ASF file. Note: Easy Video Splitter is not transcoding the file as seen with TMPGEnc, and is therefore a lot faster ... You will also need, naturally, Easy Video Splitter, which you can download at the DoEasier Website. You can download a free trial version at their website, which is not limited in any way - so fully functional. Install the the Application before continuing. Cutting a movies into pieces Once the application had been installed and started, we see;
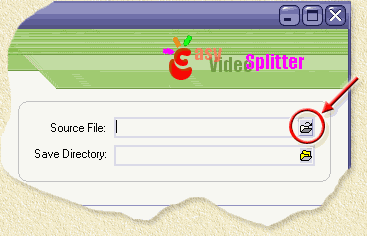
Now click the "open" icon (indicated in the image below by the red arrow);
A file dialog will open, allowing you the open a MPG, MPEG, M2P, AVI, WMV, or ASF file. Quite a selection ... :-) Note: for MPEG/MPG files
can be either MPEG-2 or MPEG-2 formatted
files. This can be either VideoCD, Super VideoCD, DVD Half D1, DVD Full
size, KVCD, KSVCD or KDVD. Select your file and click "OK". Sometimes Easy Video Splitter starts playback of the movie automatically, sometimes it doesn't. I'm not sure why. But if it isn't playing the movie now, then click the play button (indicated below) which allows you to verify the first few seconds, to see if Easy Video Splitter works OK with your movie. Tip: If you experience a green or garbled screen, the please consider using FFDShow for fixing this. It appears to be an XviD problem. So now we know that the movie plays alright, we can move on to the next step: selecting a part or multiple parts. Selecting Parts/Clips A great feature of Easy Video Splitter is that one can predefine multiple "parts" or clips before doing the actual cutting. Note: The original file will not be harmed. The clips will have the same name as the original file (and can be found in the same folder unless a different folder has been specified), with an additional number. This number indicates the "cut".
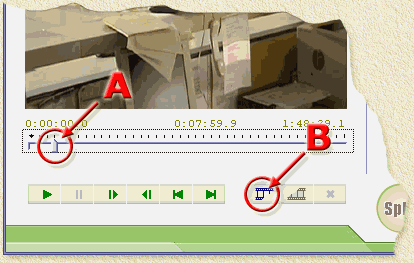
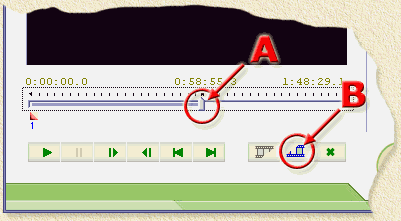
For each clip we want to cut, we first select the "start" position of that clip by using slider "A". Once the appropriate position is found, you can use button "B" to mark this position. After clicking the "Mark start" button, you will see a number appear, just below the slider "A", indicating the clip number. In the next step we are going to mark the "end" position of the clip.
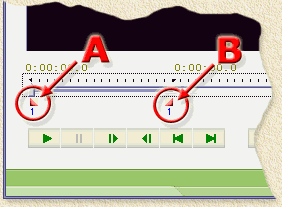
Again using slider "A", we move to the appropriate "end" position, where you can use button "B" to mark this position as the "end" of this clip. Below the new position, you will see the same number again, below the slider, as you can see in the next image:
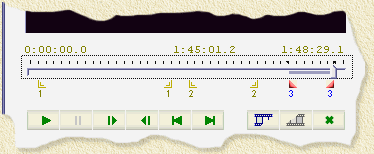
Repeat this process for all cuts you want to make. Note: Clips CAN overlap! Which is just fine, Easy Video Splitter will deal with it as it should. Overlap is actually a pretty good idea when for example cutting an MPEG movie into 2 VideoCD's. It gives the viewer later on a bit of time to get adjusted after swapping CD' s... A set of cuts could like as such;
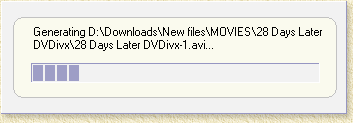
In this example I selected 3 pieces of the movie file - this will generate 3 clips. Now click the "Split" button
(
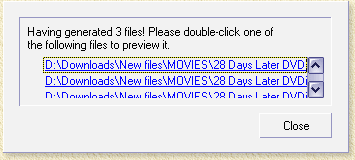
Once the files are created a new dialog will show you that it's done;
Note: you can also use "automatic" mode. Check "Split the source file automatically" and choose by size limit (in Mb - so basically the limitations of your CD), by time limit (make movie cuts of a certain playback time, say for example 5 minutes) or by number of desired clips (for example, cut the movie in 10 clips). The downside here is that there is no overlap! |
||||


 )
and wait ... your clip(s) are being rendered ...