| Print this page - use Landscape |
Search the WeetHet Pages |
|||
| WeetHet is being updated! - Current articles will slowly move to www.tweaking4all.com For excellent webhosting that is reliable and affordable, we highly recommend: LiquidWeb |
||||
|
On this Page ...
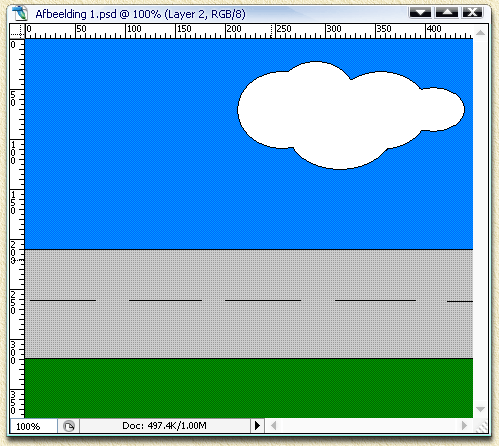
Step By Step We'll use the following animation to illustrate what to do to get an animation: a car moving over a street from right to left. Tip: drawing an image like this can easily be done right away in ImageReady, but we'd like to use this approach later as a base for more complex drawings ... Step 1. In Photoshop create a new document and use it to draw a picture of a landscape with road - dimensions of the image are not that important right now.
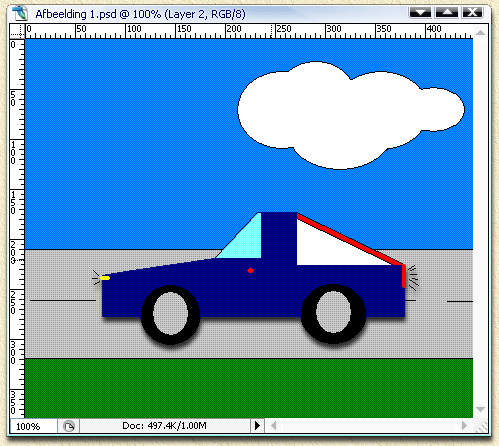
Step 2. Make a new layer for this document (menu: "Layer" - "New" - "Layer", or press SHIFT+CTRL+N). This is the layer we will use for the moving object. In our example; a car. Draw the car and make sure it kind-a matches the dimensions of your landscape.
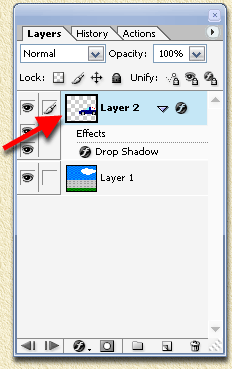
Step 3. First save your drawing as a PSD file ("File" - "Save As") - give it a name so you can find it later. In the menu click "File"-"Edit in ImageReady" or press SHIFT+CTRL+M. Another Adobe program will now open with your drawing already in it; Adobe ImageReady. Here is where we can do our animating ... Step 4. For animations we will need to open the Animation window. In the menu click "Windows"-"Animation". Step 5. First we must move our car to it's start position. So we first need to select the proper layer, specifically with more complex animations, you might want to check if you're working with the right layer! Use the layer window to select the proper layer:
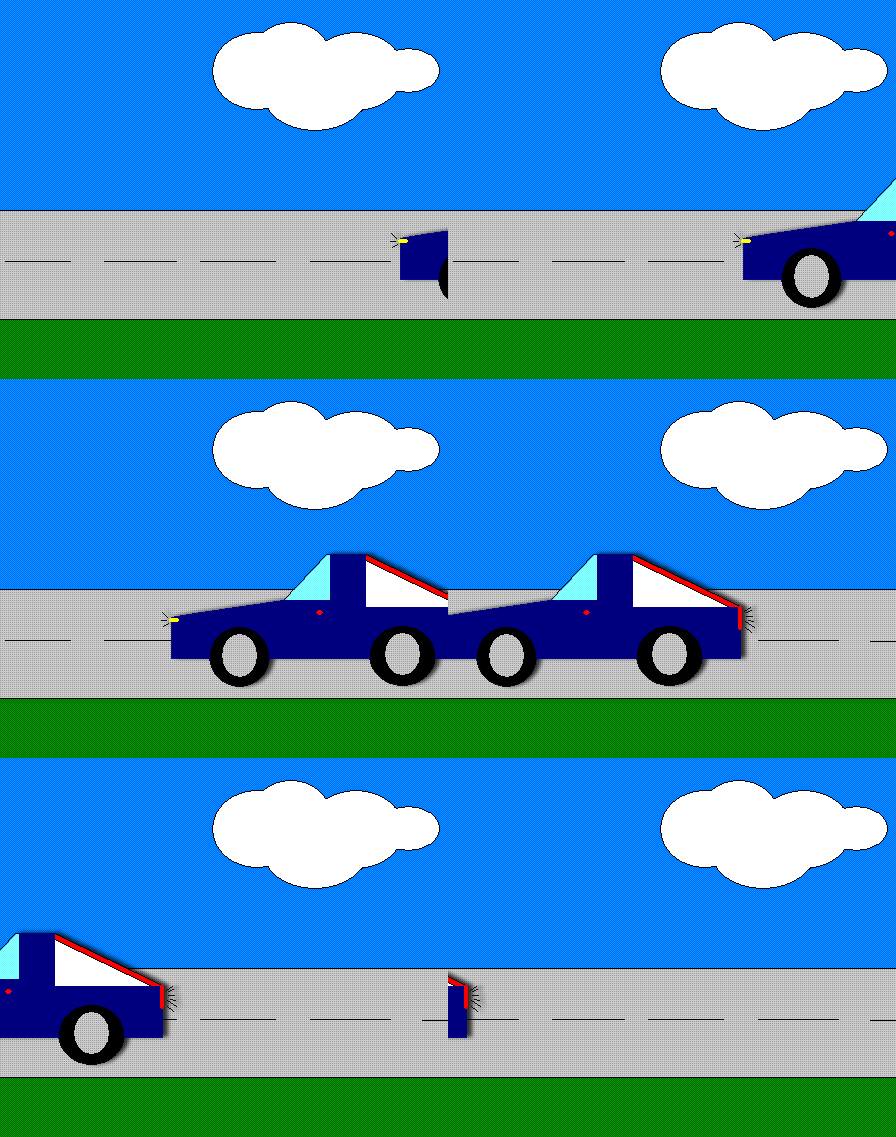
Step 6. Now we must define each individual animation step for our animation. We'd like to have the car move from right to left, so first move the car to the far right until it's almost not visible. Next follow the following cycle for each animation "step":
Repeat this until the car disappears on the left side. The more times your repeat this cycle, the smoother the animation will go, but also the bigger the file will become. Tip: Press "Play" every now and then to see what the animation looks like! Tip: Under each frame you will see a time: 0 sec. Click it to set the playback duration of this specific frame. You can also changes all frames at once by selecting all frames and change the time under one of the frames - all frames will now have the same new playback time. Tip: When moving an object horizontally, or vertically, then try this: move the object and while holding the mouse button down press SHIFT as well, you'll see that the object will move in a straight line now. Tip: In the lower left corner of the animation window, you will see "Forever" meaning that the animation will repeat endless. Click it to choose other options like Once, and Other (1 or more time). Step 7. Happy with your animation? The first save it as a PSD file ("File"-"Save As"). For web-publication one would like to use the so called Animate GIF format instead. Choose "File"-"Save Optimized As". Type a filename and select type (usually "Images Only"). This is an example of our work:
|
||||


